1 – What are the Data Warehouse Rules ?
The Jira data fields are stored in technical manner in the database used by the Jira Server platform. The data structure is following the Jira logic. If you would like to use your data on functional level and a customized structure, you have to set first which kind of data you like to store in your data warehouse tables. The dimensions of this concept are:
Server ID: all data in a data warehouse table refer to a unique Jira server ID. You can store data from different Jira instances in a central table.
Jira Projects: You can store data of a single or multiple projects in the data warehouse tables. That depends on your need.
Issue Types: You can store data of a single or multiple issue types per Jira project in the data warehouse tables.
Fields: This is the lowest level that allows you to decide which fields you export to the data warehouse tables.
Once you have a clear concept of your data model you should start to create the Data Warehouse Rules.
2 – How to creation a new Data Warehouse Rule ?
The following steps should be configured:
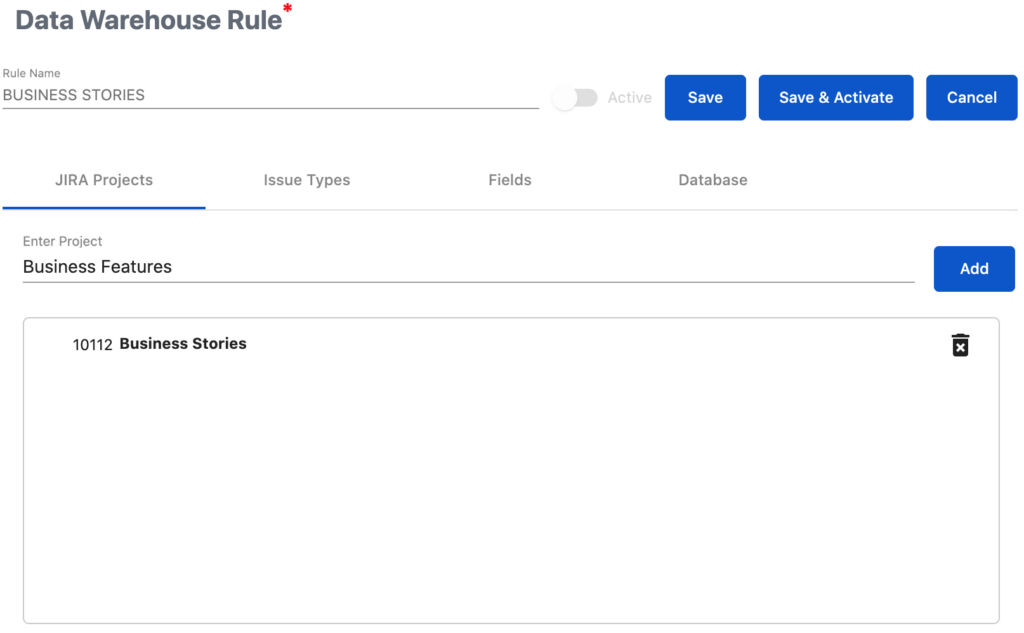
2.1 Set your Rule Name and select your Jira Project(s)
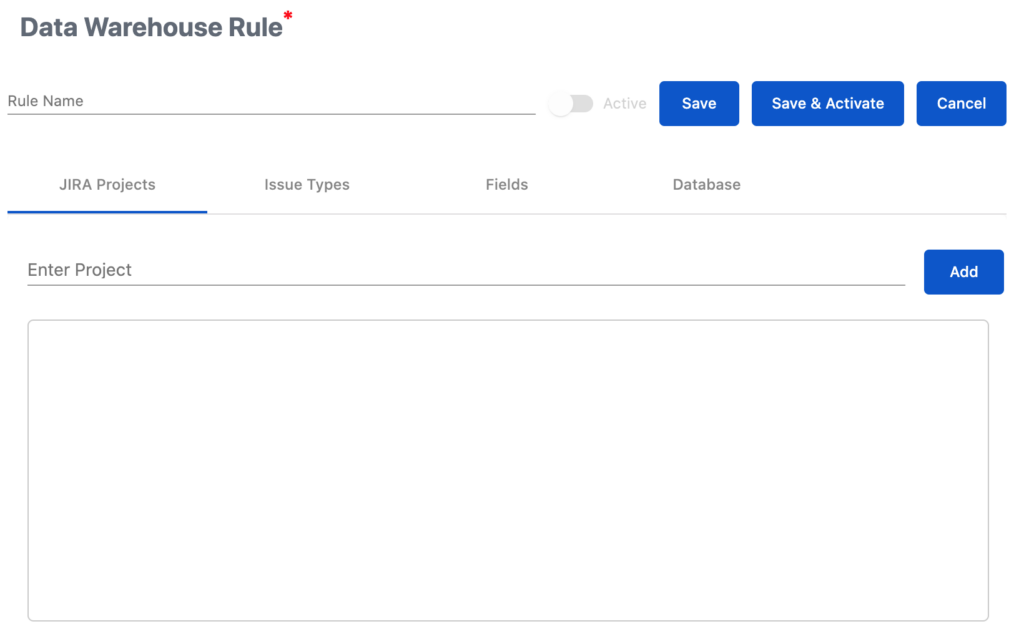
Please enter a Rule Name and then select your Jira Project(s) by typing the name in “Enter Project” and then clicking on “Add”
2.2 Select your Jira issue types
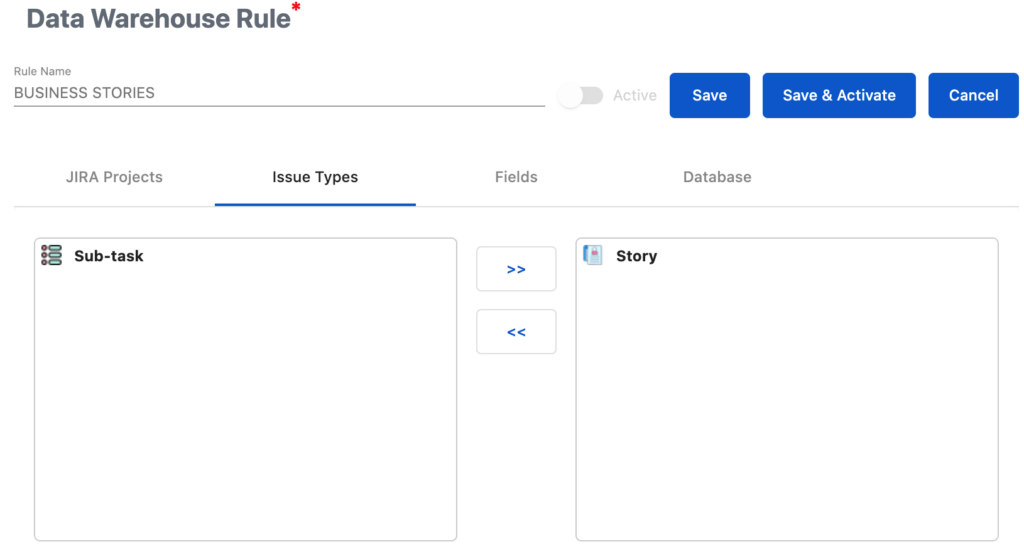
Precondition: At least one Jira project has been selected in the previous step
In the next step you click on “Issue Types”. The issues types of the previously selected Jira project(s) are listed. Please drag and drop to move the issue types to the right side. These issue types will be considered in the app. You can also use >> or << to move to whole issue types list.
2.3 Select your Jira fields
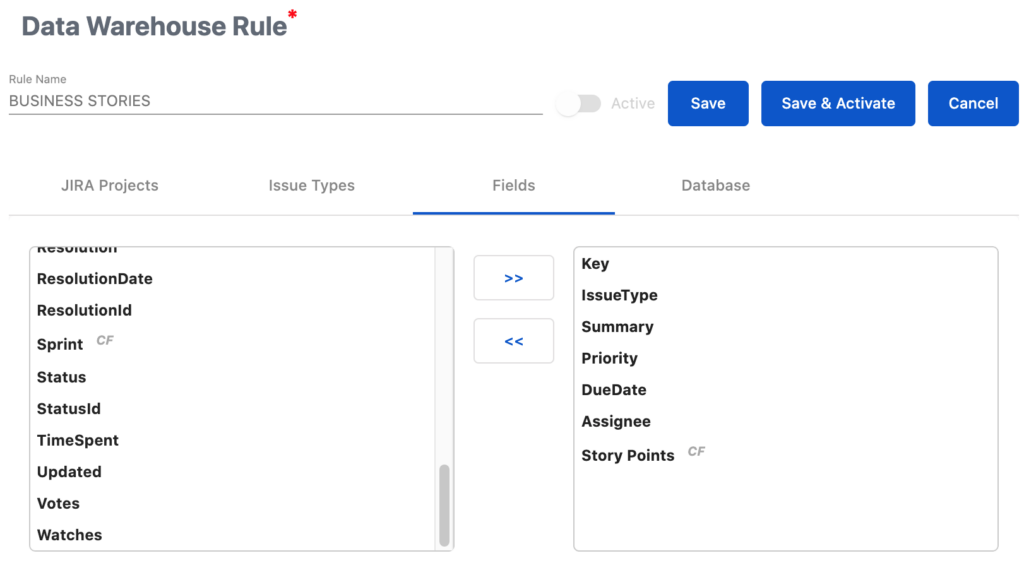
In the next step you click on “Fields”. The system and custom fields of the previously selected issue type(s) are listed. Please drag and drop to move the fields to the right side. These fields will be considered in the app. You can also use >> or << to move to whole field list.
2.4 Configure the database access
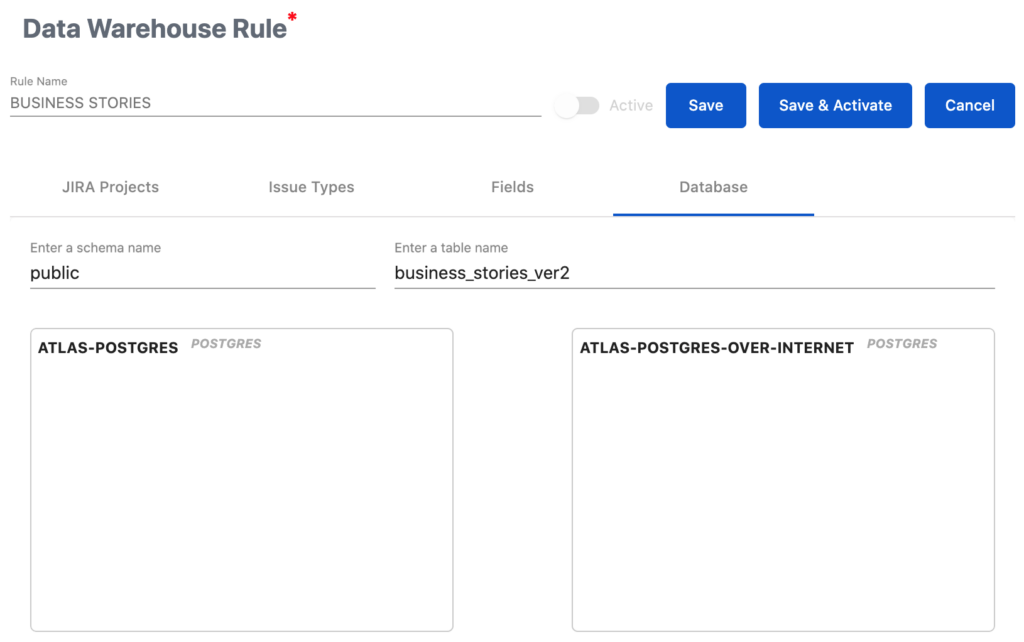
In the final step you have to enter the schema name. If this value is not set as default, schema of the DB user will be used.
You have to drop the DB connection, you configured before here.
3 – How to activate the Data Warehouse Rule ?
Once you finalized the configuration of the Data Warehouse Rule, you can
Save the rule without activation. The activation can be done later OR
Save and activate with one click. You can anytime deactivate the rule.
A deactivated rule don’t write any data in the database.
For the first activation the configured table name in the rule will be checked by the app. A Popup window inform you about the action to be done by the app:
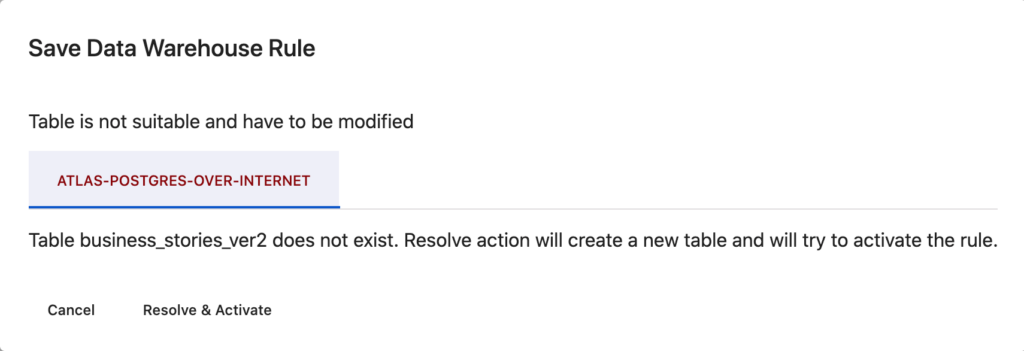
Please click on “Resolve & Activate” to allow the app to create the required table and to start the reporting of Jira changes.
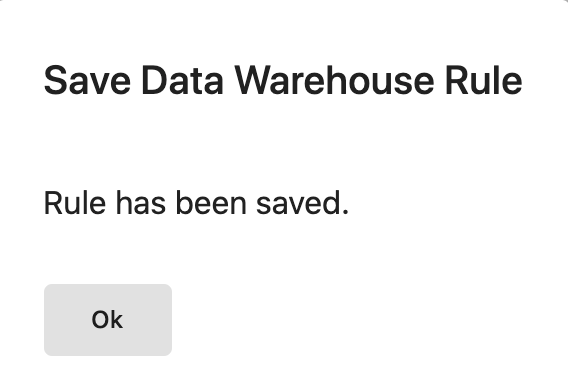
The following info will be displayed:
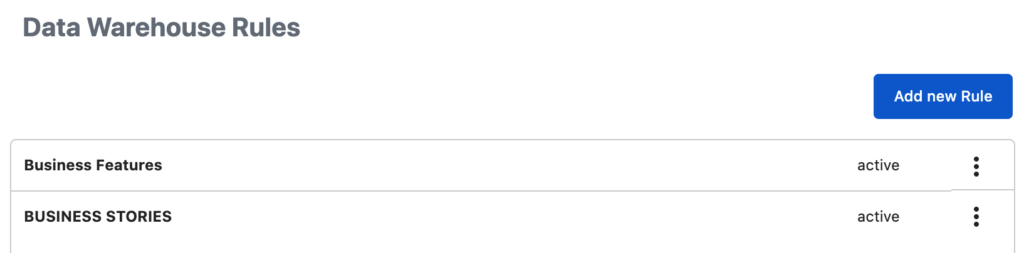
Please make sure you the “active” status in the Rule List:
The app have the following logic
Any table created by the VIP.LEAN DATABASES – Data Warehouse has technical columns to identify these tables as own tables. Please don’t change this
The VIP.LEAN DATABASES – Data Warehouse never overwrites any tables, which are NOT identified as own tables